Developing your game in Unity? Then you need to pay attention to 5 signs that reveal you should to move into Ray-tracing.
Let’s celebrate this new series on Ray-tracing in Unity here at The Gamedev Guru.
Woohoo!
Ok, that celebration will do for now.
In this new series, you will learn how to craft high-fidelity and high-performance graphics for your game through ray-casting.
Let’s get started with the first blog post.
Today, you’ll learn about the following real-time ray-tracing effects:
- Ray-Traced Reflections
- Ray-Traced Global Illumination
- Ray-Traced Ambient Occlusion
- Ray-Traced Shadows
So here are the 5 signs you will experience that will push you into the Ray-tracing journey.

Sign 1: Your Reflections Look Broken
You want reflections in your game.
Shiny marble, metallic and smooth surfaces or just a mirror.
Most games may well have reflective materials.
So you go ahead and add a reflection probe. You bake it to capture what’s around it and you’re good to go with your:
- Standard shader.
- Lit shader in HDRP/URP.
These shaders will take well care of reflections on metallic and shiny surfaces.
However, more often than not the reflection will look off.
Have a look at this animation:
Unity Baked Reflection Probe Limitations
The reason is that we baked the reflection probe from a specific location. However, we use that captured reflection from different locations. Unity can only correct this mismatch by using approximations that distort the visual output.
Unity will do its best to deliver accurate reflections. But it is just not possible with missing information.
Worse yet, you are missing dynamic objects from the reflections since it’s a baked reflection probe.
We would need real-time reflection probes to capture the reflections we need to achieve more accuracy. Possibly more than one.
And that’s not a price we can pay. In average, adding a RT reflection probe will just double our draw calls and add significant GPU overhead.
So here’s another approach you might take: Screen Space Reflections (SSR).
SSR is a screen-space effect that adds reflections to reflective surfaces on the screen.
And it does so by “mirroring” the reflected pixels on the screen.
That means: you won’t see the reflection of these pixels that are not in the screen. It is a screen-space effect, after all.
If you’re looking right at your marble floor, you won’t see the reflected ceiling. The ceiling is not part of your framebuffer in that frame, hence you can’t see it in the reflection.
Here’s what I mean:
Unity SSR Reflections Limitations
What to do… what to do…?
Hint: have you thought of ray-tracing in Unity?
Ray-traced reflections actually do ray-tracing. That means, these rays can go offscreen to capture elements you don’t have in the framebuffer.
Here’s a comparison between SSR and Ray-traced reflections (use the slider to see the differences).
Perfect reflections. (More) realistic.
With ray-traced reflections, you get the best of both worlds (screen-space reflectionsand real-time reflection probes) at a fraction of the cost (hardware-accelerated ray tracing).
Let’s move on to the sign 2.
Sign 2: Long Lightmap Baking Sessions That Lead to Nowhere
Your level is almost ready.
You spent a few hours tweaking the lighting settings and adding light probes to get the perfect illumination.
Indirect lighting is important for your visual target. With that you agree.
So you start the baking process and go to bed.
The next morning, you wake up feeling like Christmas. You go to your PC to get your gifts.
You unlock your computer, alt-tab to Unity and see the results.
What the hell?
The baked lighting looks completely broken.
You wash your eyes just to be sure.
No. It’s not your sight. The visual artifacts are still there.
Even worse, you produced 8 huge lightmap textures to cover the entire level.
That’s a lot of memory… I bet your players wouldn’t like it.
The traditional wisdom tells you:
Keep iterating on your lighting setup until you get it right
…Only that you don’t have unlimited time.
So what do you do instead?
You try Unity ray-traced global illumination.
After all, you only heard good things about it.
Except the performance hit. But you know hardware is catching up.
So talking about Global Illumination…
How does Ray-Traced Global Illumination look like?
Use the slider to find out.
Not bad.
With ray-traced GI, you move the effort on baking time to real-time through ray-traced hardware.
If you have the performance budget to pay for ray-traced GI, it’ll get you good results.
But I won’t lie to you. It’s expensive.
Next… What’s the third sign you might need ray-tracing?
Sign 3: Your SSAO Isn’t Punchy Enough
Screen-space Ambient Occlusion (SSAO).
That old friend that darkens occluded areas to simulate the lack of ambient light in tricky spots.
SSAO can be a “cheap” post-processing effect that improves the look of your scene.
But it will look fakey to the trained eye.
Just like with any screen-space effect, SSAO works with incomplete information. So you can’t expect too much accuracy from SSAO.
But what if you could go offscreen? With a complete understanding of the entire scene, we could surely achieve better AO.. right?
Let’s see how ray-traced ambient occlusion looks like in Unity.
Which one do you like best?
Easy choice for me.
Now, let’s talk about shadows…
Sign 4: Which Contact Shadows?
Contact shadows are those tiny shadows that you can’t render with traditional shadow mapping. This happens because of the limited resolution of your shadow maps.
You often need contact shadows for small objects that are in close proximity to other surfaces.
HDRP lets you add contact shadows as a post-processing effect.
But again, these work with limited information. And you might not like the result.
So how can ray-tracing help us get better contact shadows?
Let’s do a three-way comparison this time:
- No contact shadows.
- Screen-space contact shadows.
- Ray-traced contact shadows.
Again, the choice is clear for me.
And what about shadows in general?
Sign 5: These Shadows Are Limiting Your Creativity
Shadow mapping has its limitations.
But ray-traced shadows don’t (apart from the higher performance cost).
With ray-traced shadows, you get better shadows and extra artistic parameters to play with.
These extra parameters will move your project closer to your artistic goals.
Here are some of these parameters:
- Sun angle
- Light radius
- Colored shadows
- Denoising
Let’s check them out.
The Sun Angle
The sun angle is size of the sun in the sky measured in degrees. Basically:
- A lower angle will give you hard-looking shadows.
- A higher angle will make your shadows look softer.
By the way, shadows tend to look softer the more far away they are from the original object (the shadow caster).
Below you have another three-way comparison:
- Shadow mapping (no ray tracing).
- Ray-traced shadows: sun angle 0
- Ray-traced shadows: sun angle 0.53.
What about colored shadows?
Colored Shadows
I don’t believe in God but I personally like visiting churchs and monasteries. They are a truly amazing architectural feat.
What I often like most is the stained glasses. They project a colorful shadow onto the floor at the right time of the day.
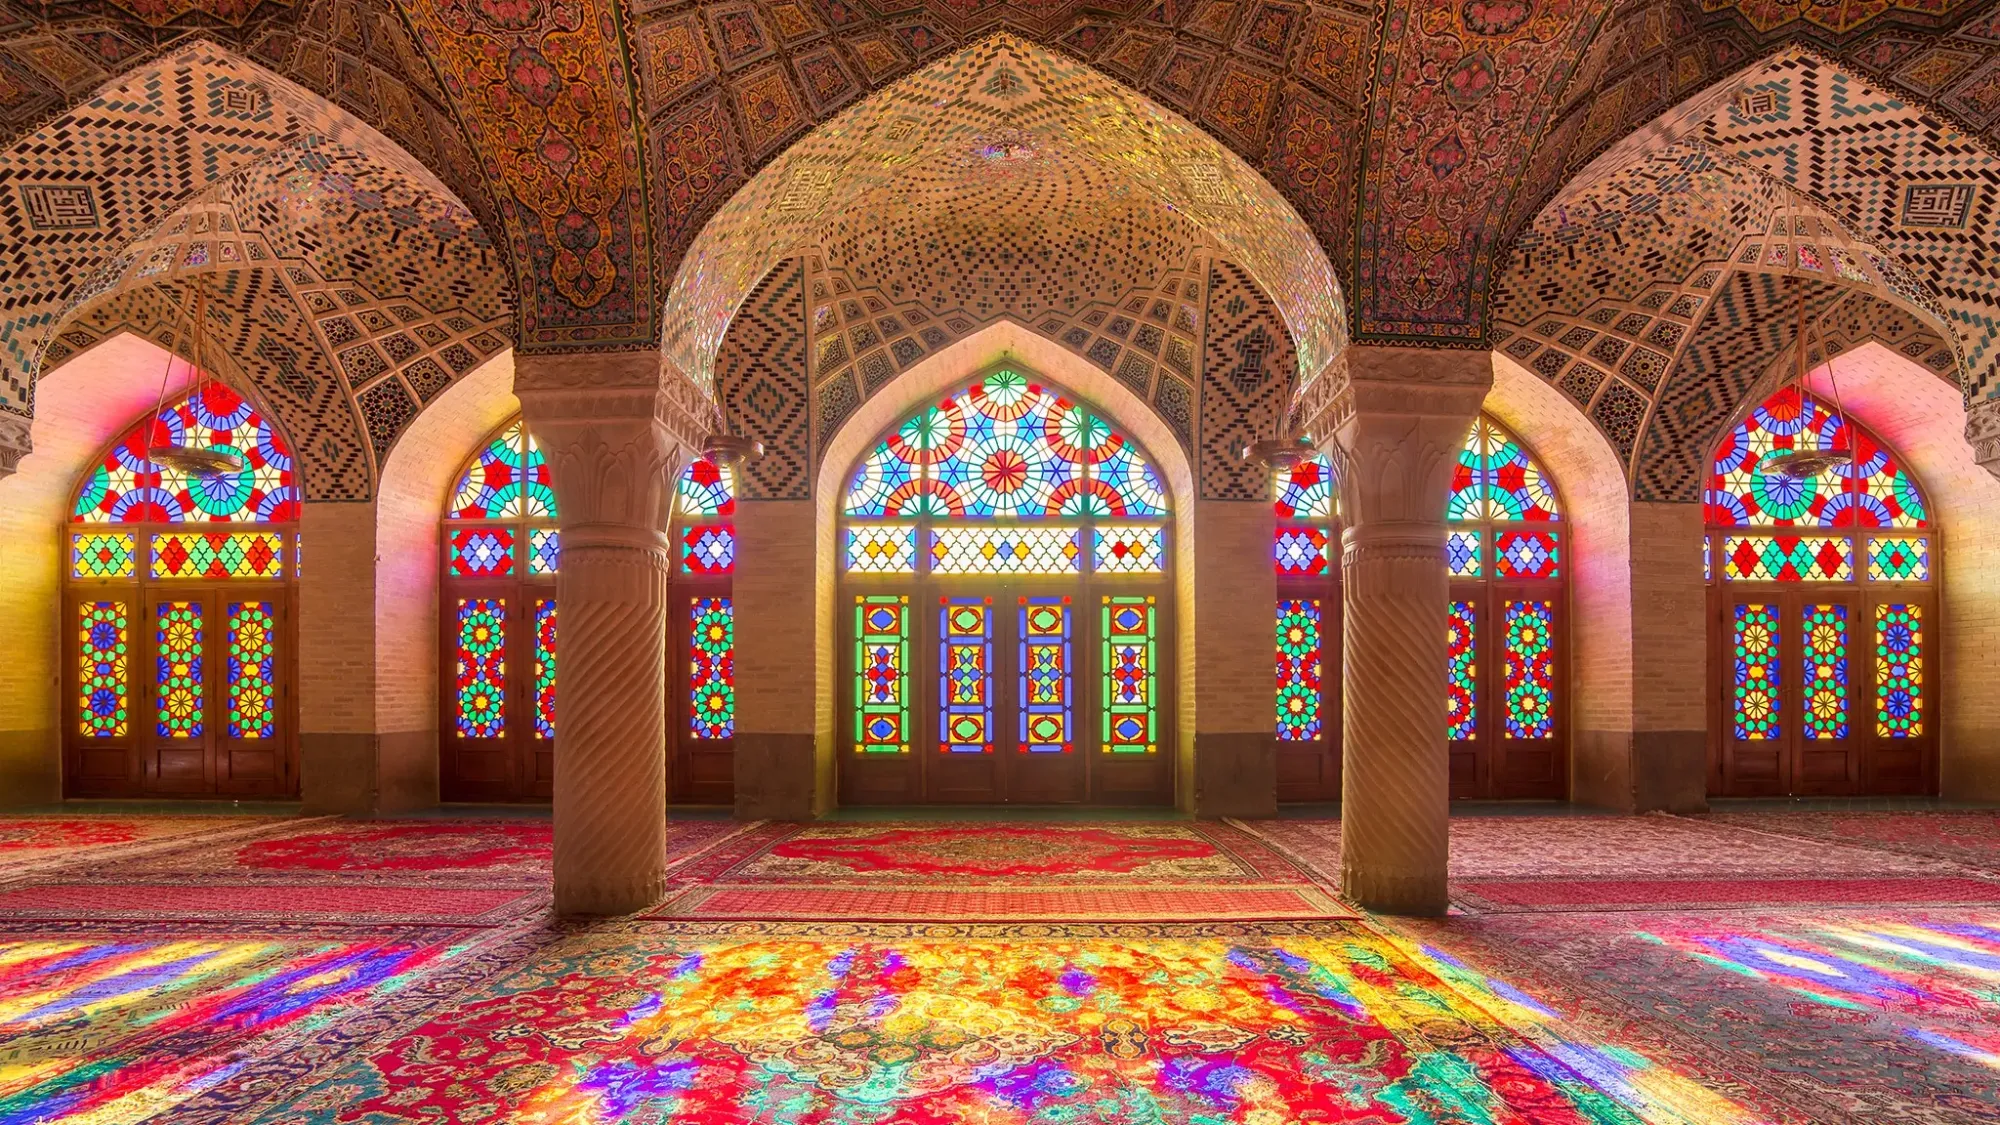
So I always wondered how to recreate this effect in Unity.
In the past, I always had to resort to fake colored-planes. They did the trick but the workflow was quite rigid.
One small change in the scene and I had to redo everything again. Not to mention, I couldn’t really adjust the daylight settings in real-time, e.g. the angle of the sun.
Good news for everyone now: Unity now supports ray-traced colored shadows out of the box.
A few settings in your directional light and your materials, and you’re ready to go.
See the comparison below.
Beautiful.
Adjustable Light Radius
With ray-tracing, you can now specify your light radius for your point and spot lights.
This radius is the size of the sphere representing your lights. Basically:
- A small radius will give you hard shadows.
- A bigger radius will get you in softer shadows.
See the comparison below.
As a game developer, this parameter means freedom.
Freedom to alter radically the way your game looks… in real-time.
Last, let’s have a look at rectangle lights.
Ray-Traced Rectangle Light Shadows
Rectangle lights are a beautiful addition to any game. They really look great and add an immersive atmospheric effect to the players’ experience.
Unity supports rectangle lights for some time already. You just need to set your light type to Area and your light shape to rectangle.
And again, the trained eye will quickly see the limitations of rectangle lights.
I’m talking about the shadows that these rectangle lights project. They will look weird on surfaces with reflective materials.
To show you that, below is a comparison between rectangle area lights and ray-traced rectangle lights.
With ray-tracing, we take advantage of the information of the entire scene through consecutive light bounces. And this results in more accurate shadows on irregular surfaces.
Yup. Much better.
It’s been a long post. So let’s wrap this up and warm up for the upcoming posts.

Hardware & Acknowledgments
This research comes not only from time and effort (well over 30 hours), but from high-performing hardware.
Here’s the hardware I used:
- Asus Prime X470 PRO
- AMD Ryzen 2700X CPU
- 8 Cores / 16 Threads @3.7GHz (Up to 4.3GHz)
- TDP: 105W
- NVIDIA Titan RTX GPU
- Memory: 24 GB GDDR6 (384-bit)
- Memory Bandwidth: Up to 672 GB/s
- NVIDIA CUDA® Cores 4,608
- NVIDIA Tensor Cores 576
- NVIDIA RT Cores 72
- Single-Precision Performance: 16.3 TFLOPS
- Tensor Performance: 130 TFLOPS
Coming from a GTX 1060, I have to say that the TITAN RTX is quite a beast in ray tracing.
Previously, I couldn’t really do any ray-tracing in real-time. I mean, I’m glad NVIDIA added ray-tracing support to old graphics cards. That’s ok for development.
But it was painful to do any work at sub-10 FPS with my GTX 1060.
Upgrading to a TITAN RTX got me into the sweet spot of 60FPS+. Real real-time, that’s it.
Not only that, you’ll be able to add additional ray-tracing effects and still remain real-time. As a bonus, you’ll get rid of hammer-like headaches caused by low frame-rate.
If you plan to do any real-time ray-tracing work, consider investing in a high-end NVIDIA GPU. Especially if you aim to work in the automotive or architecture industry. The difference between 5 FPS (headache) and 60 FPS (real-time) ray-tracing is day and night.
Tip: If you work for clients, real-time ray-tracing is going to be a key differentiation factor in the upcoming years.
Tip 2: I also heard TITAN RTX is quite effective at machine learning. I’m looking at you, Unity ML Agents 😉
I’m personally looking forward to using the TITAN RTX for the upcoming ray-tracing posts. I aim to give you a solid insight on the possibilities of ray-tracing with Unity so that you can differentiate your game from the rest.
Big thanks to:
- NVIDIA for sending me this beefy GPU. And also for developing both the hardware and the software required to make real-time ray-tracing a possibility.
- Unity for promoting my content and offering support in the area of graphics. In fact, I took most pictures from their HDRP documentation (thanks!).
What’s Next?
This visual guide is just the start of a brand new series on ray-tracing in Unity.
I hope you enjoyed it.
In the upcoming Ray-tracing posts, you will learn:
- When to use each ray-tracing effect in your project.
- What do they mean to you.
- The performance cost of ray-tracing effects.
- How to make your own ray-tracing effects.
Subscribe to The Gamedev Guru newsletter below to embark in this ray-tracing journey with me.
By subscribing to the newsletter, you will get:
- A 5-day introduction to Unity game performance.
- A weekly e-mail on high-performance Unity game development and ray-tracing.
~ Ruben (The Gamedev Guru)